This guide covers everything about How to Remove Gel Nail Polish Safely at Home Without Ruining Your Nails. Want to maintain healthy, strong nails while enjoying the longevity of gel polish? Removing gel polish at home doesn’t have to be a damaging process. By following the correct techniques, you can safely remove gel polish without thinning your natural nails or causing undue stress. This guide will walk you through the most effective and safe methods, incorporating the latest insights and product considerations for 2026.
Last updated: April 18, 2026
Latest Update (April 2026)
Recent developments in nail care highlight the importance of product safety and expert-approved methods. As reported by NBC 5 Chicago, a recall was issued for certain nail polish removers sold on Amazon due to prohibited substances, underscoring the need to choose products carefully. Consumer Reports also released their latest expert-tested list of the best nail polish removers of 2026 in March, emphasizing efficacy and nail health. and, beauty experts continue to stress that gel polish removal shouldn’t be painful, as detailed in recent publications like Cosmopolitan, reinforcing the need for gentle, damage-free techniques.
Understanding Gel Nail Polish and Why Safe Removal Matters
Gel nail polish offers a durable, glossy finish that can last for weeks, making it a popular choice for those seeking a long-lasting manicure. Unlike traditional nail polish, gel polish cures under a UV or LED lamp, creating a hard, resilient layer that chemically bonds to the natural nail. This curing process is what gives gel its impressive longevity and chip-resistance.
However, this strong bond is precisely why improper removal can be so detrimental. “Improper removal often involves aggressive filing or forcing the polish off — which can strip away layers of the natural nail, leading to thinning, weakening, and increased susceptibility to breakage,” explain nail care specialists. Over time, repeated damage from incorrect removal can result in sensitive, brittle nails that are prone to peeling and splitting. science behind gel polish and prioritizing safe removal techniques are really important to preserving the health and integrity of your natural nails.
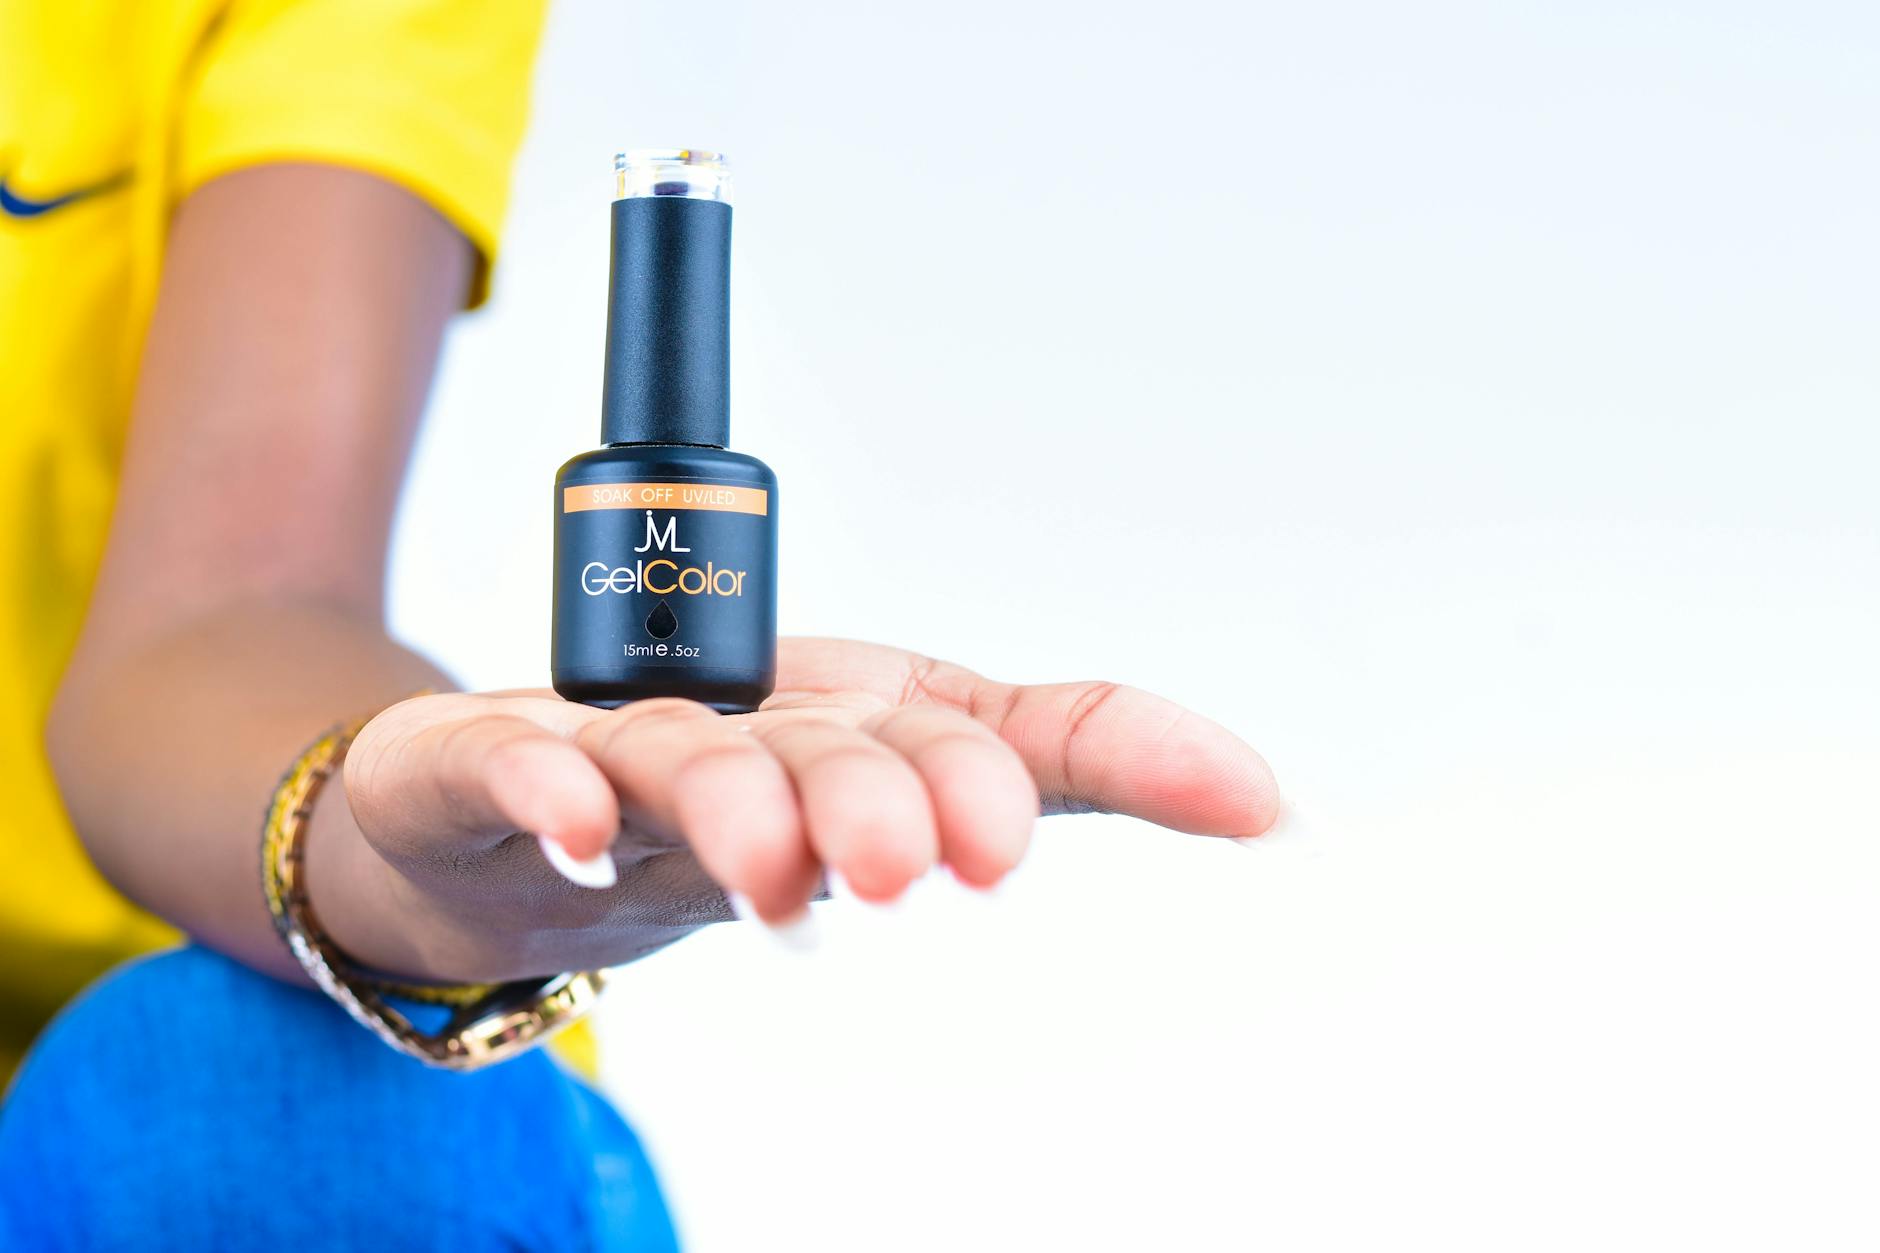
Essential Tools You Need Before Starting
To ensure a smooth and safe gel polish removal process, gather all necessary supplies beforehand. Being well-prepared prevents any temptation to rush or resort to damaging shortcuts. According to beauty industry professionals, the following tools are essential for an effective at-home gel removal:
- Nail File (180-240 grit): A medium-grit file is ideal for gently buffing the top coat without abrading the natural nail.
- Pure Acetone: This is the most effective solvent for breaking down gel polish. Ensure it’s 100% pure acetone for optimal results.
- Cotton Pads or Balls: Pre-cut cotton pads or cotton balls are used to soak up the acetone.
- Aluminum Foil or Nail Clips: Used to secure the acetone-soaked cotton pads to the nails, creating a warm, concentrated environment for removal.
- Cuticle Pusher (Orange Stick or Metal): A gentle tool for pushing off the softened gel polish after soaking.
- Nail Buffer: A fine-grit buffer to smooth any remaining residue and gently buff the nail surface.
- Cuticle Oil: Essential for rehydrating and nourishing the cuticles and nail bed after the drying effects of acetone.
- Hand Moisturizer: To restore moisture to the hands and nails.
Step-by-Step Guide: How to Remove Gel Nail Polish at Home
Follow these detailed steps for a safe and effective gel polish removal process. This method prioritizes nail health by minimizing abrasion and chemical stress.
Step 1: Gently File Off the Top Coat
Using a nail file (180-240 grit), gently buff away the glossy top layer of the gel polish. The goal here isn’t to file down to the natural nail, but simply to break the seal of the top coat. This allows the acetone to penetrate the gel polish layers more effectively. Be sure to file in one direction to minimize micro-damage to the nail surface.
Step 2: Soak Cotton Pads with Pure Acetone
Saturate a cotton pad or cotton ball with 100% pure acetone. Ensure it’s thoroughly soaked but not dripping excessively. Place one soaked cotton pad onto each fingernail, ensuring the entire nail surface is covered.
Step 3: Wrap and Wait
Secure the acetone-soaked cotton pads in place using aluminum foil squares or specialized nail clips. Wrap the foil tightly around the fingertip, ensuring a snug fit to trap heat and prevent the acetone from evaporating. Allow the wraps to sit for approximately 15-20 minutes. The time may vary slightly depending on the brand of gel polish and how many layers are present.
Step 4: Gently Push Off Softened Gel
After the soaking period, remove one foil wrap at a time. The gel polish should appear softened and slightly lifted. Use a cuticle pusher (an orange stick or a metal pusher) to gently nudge the softened gel polish away from the nail plate. Work from the cuticle area towards the free edge. If the gel doesn’t push off easily, re-wrap the nail with fresh acetone-soaked cotton and soak for an additional 5-10 minutes. Never force or scrape the gel off, as this can cause significant damage to the natural nail.
Step 5: Buff Away Residue and Hydrate
Once most of the gel polish has been removed, there might be some stubborn residue. Use a gentle nail buffer to lightly buff away any remaining bits. Again, avoid aggressive buffing that can thin the nail. After all gel residue is gone, wash your hands thoroughly with soap and water to remove any residual acetone. Immediately follow up by applying a generous amount of cuticle oil to your nails and cuticles, massaging it in. Then, apply a rich hand moisturizer to rehydrate the skin and nails.
Comparison Chart: Gel Polish Removal Methods
While the acetone soak method is widely recommended, other options exist. Here’s a comparison of common gel polish removal methods, considering their effectiveness and potential impact on nail health as of 2026:
| Method | Estimated Time | Damage Risk | Best For |
|---|---|---|---|
| Acetone Soak (Foil Method) | 20-30 minutes | Low (with proper technique) | General Use, Most Gel Polishes |
| Peel-Off Base Coats | 5-10 minutes | Medium (can lift nail layers if not applied/removed correctly) | Quick Fixes, Temporary Wear |
| Electric Nail File (E-file) | 10-15 minutes | High (requires significant skill and caution) | Professionals Only, Experienced Users |
| Non-Acetone Removers | 40-60+ minutes | Low (less effective, requires longer contact time) | Sensitive Nails, Those Avoiding Acetone |
Users report that while non-acetone removers are gentler, they often require longer soaking times and may not fully break down certain gel formulas. Electric nail files, while efficient, carry a high risk of damage if not used with extreme precision and the correct bits, as highlighted in discussions about the best drill bits for gel removal. As Texas Diamond Garage noted in a recent discussion, the right drill bit is Key for effective and safe removal when using an e-file.
Common Mistakes That Damage Nails During Gel Removal
Avoiding common pitfalls is as important as employing the correct technique. These mistakes can compromise nail health, even with the best intentions:
- Peeling or Picking Off Dry Gel Polish: This is perhaps the most damaging mistake, as it can rip off layers of your natural nail along with the gel.
- Over-Filing the Natural Nail: Aggressively filing the nail surface, especially when trying to remove gel or during prep, can weaken the nail plate.
- Skipping Hydration: Acetone is drying. Failing to rehydrate nails and cuticles with oil and moisturizer post-removal leaves them brittle.
- Rushing the Process: Impatience leads to shortcuts, such as scraping or forcing removal — which damages the nail.
- Not Allowing Nails to Rest: Constantly reapplying gel without breaks can prevent nails from recovering their natural strength and moisture.
- Using Incorrect Tools: Employing metal tools to scrape aggressively or using coarse files can cause physical damage.
How to Care for Your Nails After Gel Removal
The post-removal period is critical for restoring nail health and strength. Proper aftercare can improve the condition of your nails, making them more resilient for future manicures.
- Daily Cuticle Oil Application: Apply cuticle oil at least once daily, massaging it into the cuticles and nail bed to promote healthy growth and flexibility.
- Use a Nail Strengthener: Opt for a nail strengthening treatment, especially one containing ingredients like biotin or keratin, to help rebuild nail integrity. Apply as directed, typically a few times a week.
- Keep Nails Shorter: Until your nails regain their strength, consider keeping them shorter and neatly filed to prevent snagging and breakage.
- Wear Gloves for Chores: Protect your nails from harsh chemicals and excessive moisture by wearing gloves when doing household tasks, washing dishes, or gardening.
- Take Manicure Breaks: Allow your natural nails a break from polish (gel or regular) periodically. As Real Simple advised in December 2025, taking breaks is essential, especially if your nails show signs of stress or damage.
- Gentle Handling: Be mindful of your nails in daily activities to avoid accidental chips or breaks.
Who Should Avoid At-Home Gel Removal?
While at-home removal is generally safe with the right technique, certain conditions warrant professional attention. Individuals experiencing any of the following should seek assistance from a qualified nail technician:
- Damaged or Weakened Nails: If your nails are already severely thin, brittle, peeling, or have noticeable damage, attempting removal at home could exacerbate the problem.
- Nail Infections: Signs of infection, such as discoloration, swelling, or pain around the nail, require medical or professional nail care intervention.
- Experiencing Pain During Removal: If you feel significant pain or discomfort at any stage of the removal process, stop immediately and consult a professional. As Cosmopolitan reported in June 2025, pain is an indicator that something is wrong.
- Uncertainty or Lack of Confidence: If you’re unsure about the correct procedure or lack the necessary tools and patience, a salon visit is a safer bet.
Frequently Asked Questions
How often should I remove gel polish?
Nail care experts generally recommend limiting the number of consecutive gel polish applications to two or three before allowing your natural nails a break. This rest period, ideally at least a week, allows nails to rehydrate, recover, and regain strength. Over-application without breaks can weaken the nail plate over time.
Is it safe to remove gel polish without acetone?
Yes, it’s possible to remove gel polish without acetone, but it typically requires more time and effort. Methods may involve soaking in non-acetone removers, using specialized peel-off bases, or mechanical removal with an e-file. Non-acetone removers are generally less effective and require longer soaking times, while mechanical removal carries a higher risk of damage if not performed expertly. For most home users, the acetone soak remains the most efficient and relatively safe method when done correctly.
Can gel polish ruin natural nails permanently?
Gel polish itself isn’t damaging to natural nails. The potential for damage arises from improper application and, more commonly, improper removal techniques. With careful application and safe removal practices, natural nails can remain healthy and undamaged even with regular gel manicures. Consistent aftercare is also vital in preventing long-term issues.
Why does gel polish feel hard or not come off after soaking?
If gel polish feels hard or doesn’t easily push off after the recommended soaking time, it likely needs more time or a better acetone penetration. Ensure the cotton pad is fully saturated and making good contact with the entire nail surface. Re-wrap with fresh acetone-soaked cotton and extend the soaking time by another 5-10 minutes. Avoid the temptation to scrape forcefully, as this can damage the nail. Sometimes, multiple soak-and-push cycles are necessary for complete removal.
How long should nails rest before reapplying gel polish?
it’s advisable to let your nails rest for at least one week before reapplying gel polish, especially if they show any signs of dryness, thinning, or weakness. This rest period allows the nail plate to rehydrate and recover. For individuals with very healthy and strong nails, a shorter break might suffice, but listening to your nails and giving them adequate recovery time is always the best approach.
Conclusion
Removing gel nail polish safely at home in 2026 is achievable with the right knowledge and tools. Prioritizing gentle techniques, using pure acetone, allowing adequate soaking time, and avoiding aggressive scraping are key to preventing nail damage. Remember that consistent aftercare, including hydration and protective measures, plays a vital role in maintaining nail health between manicures. By following these steps and staying informed about product safety, as highlightd by recent recalls and expert recommendations, you can continue to enjoy the benefits of gel polish without compromising the integrity of your natural nails.
Source: Britannica
Related Articles
- Best Clothing Wholesale Suppliers for Your Brand in 2026
- Mastering Small Bag Packing: UK Tips &. Tricks
- Meilleurs Sacs Banane Femme : Style et Fonctionnalité 2026
Editorial Note: This article was researched and written by the The Boutique Modesto editorial team. We fact-check our content and update it regularly. For questions or corrections, contact us.