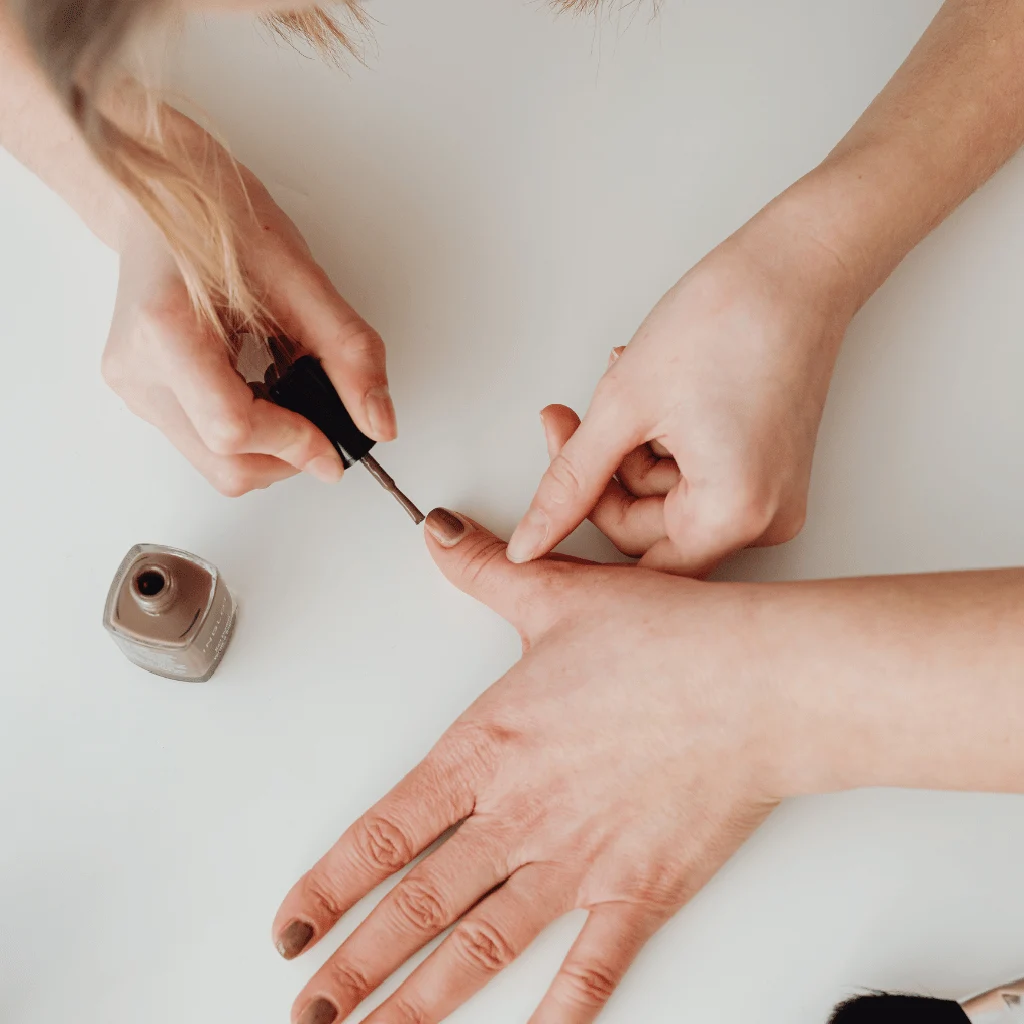
Gel nails look amazing. They’re glossy, chip-resistant, and make your hands feel instantly put together. But when it’s time to take them off? That’s where things can go wrong fast.
If you’ve ever peeled off gel polish in frustration, you already know the damage it can cause—thin, bendy nails that take weeks to recover. I’ve been there, learned the hard way, and figured out what actually works.
This guide breaks down how to remove gel nail polish properly, safely, and realistically whether you’re doing it at home or between salon visits. No shortcuts that destroy your nails. No fluff. Just proven methods and practical tips.
Why Gel Nail Polish Needs Special Removal
Gel polish isn’t like regular nail polish. It’s cured under UV or LED light, which creates a strong bond with your natural nail.
That bond is exactly why:
-
Gel doesn’t chip easily
-
Removal takes more than acetone wipes
-
Peeling causes surface damage
Trying to rush the process usually means peeling off layers of your actual nail along with the polish. That’s the real enemy here.
What You’ll Need Before You Start
Before jumping into removal, set yourself up properly. Having everything ready makes a big difference.
Basic tools:
-
100% pure acetone
-
Cotton balls or pads
-
Aluminum foil or reusable nail clips
-
Nail file (180–240 grit)
-
Cuticle pusher or orangewood stick
-
Buffer
-
Cuticle oil or nail treatment
Optional but helpful:
-
Small bowl (for warm acetone method)
-
Hand cream
-
Old towel (acetone can be messy)
The Safest Method: Acetone Soak-Off (Step-by-Step)
This is the most reliable and nail-friendly way to remove gel polish when done correctly.
Step 1: Lightly File the Top Layer
Use a nail file to gently remove the shiny topcoat.
You’re not filing down to your natural nail—just breaking the seal so acetone can penetrate.
Tip: Stop once the shine is gone. Over-filing causes thinning.
Step 2: Soak Cotton with Acetone
Saturate a cotton ball or pad with acetone. Don’t skimp here—dry cotton won’t do much.
Place it directly on top of the nail.
Step 3: Wrap and Wait
Wrap each nail tightly with foil or use nail clips.
Now wait 10–15 minutes. This part matters more than people think.
If your gel is thicker or layered, lean closer to 15 minutes.
Step 4: Gently Push Off the Gel
After soaking, press lightly on the foil and twist it off.
Use a cuticle pusher to nudge the gel from the base toward the tip. It should lift easily.
If it resists:
-
Stop
-
Re-wrap
-
Soak for another 5 minutes
Forcing it will damage your nail surface.
Step 5: Buff and Nourish
Once the gel is off:
-
Lightly buff remaining residue
-
Wash hands
-
Apply cuticle oil generously
-
Follow with hand cream
Your nails will thank you.
The Warm Acetone Method (Faster, Still Safe)
If you’re short on time, warming acetone can speed things up.
How it works:
-
Fill a bowl with warm (not hot) water
-
Place acetone in a smaller bowl inside
-
Soak fingers for 10 minutes
This helps acetone penetrate faster, especially for stubborn gel.
Important: Acetone is flammable—never microwave it.
Can You Remove Gel Nail Polish Without Acetone?
Short answer: yes—but with patience and lower expectations.
Non-Acetone Removal (Gentler, Slower)
You’ll need:
-
Nail file
-
Buffer
-
Time
Carefully file down the gel layer by layer. Stop frequently and check your progress.
This method:
-
Takes longer
-
Works best for thin gel
-
Requires control to avoid nail damage
It’s safer for sensitive skin but not ideal for thick or builder gel.
What NOT to Do (Common Mistakes)
If you want healthy nails afterward, avoid these at all costs:
-
❌ Peeling gel polish off
-
❌ Over-filing the natural nail
-
❌ Using metal tools aggressively
-
❌ Skipping aftercare
-
❌ Removing gel too frequently
Most nail damage doesn’t come from gel itself—it comes from bad removal habits.
How Often Is It Safe to Remove Gel Polish?
Even when done properly, gel removal stresses your nails slightly.
Best practice:
-
Take a break after 2–3 consecutive gel sets
-
Use strengthening treatments between applications
-
Keep nails shorter if they’re prone to bending
If your nails feel soft or sore, that’s your cue to pause.
Nail Recovery Tips After Gel Removal
Once the polish is gone, aftercare matters just as much as removal.
Immediate Care
-
Cuticle oil twice daily
-
Rich hand cream before bed
-
Avoid harsh chemicals for 24 hours
Ongoing Repair
-
Use a nail strengthener (not hardener)
-
Wear gloves when cleaning
-
Keep nails trimmed and filed
Healthy nails grow back faster than you think when treated right.
Salon vs At-Home Removal: Which Is Better?
Both can be safe—if done correctly.
Salon removal is better if:
-
You have builder gel or extensions
-
Your nails are already damaged
-
You’re unsure about filing
At-home removal works well if:
-
It’s standard gel polish
-
You have the right tools
-
You’re patient
The key isn’t where you remove gel—it’s how.
Final Thoughts: Removing Gel Without Regret
Learning how to remove gel nail polish the right way saves your nails from long-term damage. It’s not about speed or shortcuts—it’s about patience, the right tools, and gentle technique.
Once you get the hang of it, gel removal becomes just another part of nail care, not something to dread.
Take your time. Be kind to your nails. And if something doesn’t lift easily, give it more soak—not more force.
Your future nails will thank you. 💅